
LoRa Mesh ESP32: Deep Dive into Off-Grid Communication #
LoRa Mesh ESP32: Deep Dive into Off-Grid Communication #
Hello! I’m Alex Chen. Join me as we explore the exciting world of LoRa mesh ESP32 networks. Imagine sending messages and data where cell service or Wi-Fi can’t reach. That’s the power we’re unlocking with the ESP32 microcontroller and LoRa mesh technology. In this article, you’ll learn how these systems create strong, off-grid communication. We’ll see why they’re vital for a truly connected and resilient future, especially when regular systems fail. You’ll discover what a lora mesh esp32 network is and why it’s a game-changer for independent communication. This guide will help you understand and even start building your own networks. We’ll look at tools like LoRaMesher and the popular Meshtastic project, making complex ideas clear.
These ESP32 LoRa projects have huge potential. For remote sensors, like in farming or environmental tracking, they’re perfect. In emergencies, when other lines are down, a lora mesh esp32 network can be a lifeline for rescue teams. Outdoor adventurers can use them for safety in remote areas. It’s all about creating connections, anywhere. Let’s start decoding the future of intelligence, ethically.
Understanding LoRa, Mesh, and ESP32 for Off-Grid Communication #
To build innovative communication, we need to understand the basics. Let’s look at three key parts: LoRa, mesh networking, and the ESP32 chip. See how they work together to create powerful lora mesh esp32 systems.
LoRa Explained: Long Range, Low Power Communication #
LoRa stands for Long Range. It’s a wireless technology that sends data far using very little power. This makes it great for battery-powered devices. LoRa uses a special method called Chirp Spread Spectrum (CSS). Think of CSS as a unique way of sending signals so they travel far and resist noise. This is a lora basic that enables its impressive range.
LoRa works on specific radio frequencies, like 915 MHz in North America (used in projects like LoRa-RHMesh) and 868 MHz in Europe. Some projects, like WARS-Birdhouse, adapt it for other bands. While LoRa can reach many kilometers in perfect conditions, cities or forests will reduce this. It’s designed for small bits of data, like sensor readings, not large files.
It’s important to know LoRa isn’t LoRaWAN. LoRa is the basic signal technology. LoRaWAN is a full network system that usually connects to the internet. For device-to-device lora mesh esp32 networks, we often use LoRa directly with custom mesh setups.
Here’s a quick look at LoRa:
| Feature | Description |
|---|---|
| Modulation | Chirp Spread Spectrum (CSS) |
| Frequency Bands | Sub-gigahertz ISM bands (e.g., 868MHz Europe, 915MHz US) |
| Range | Several kilometers in good conditions; varies with surroundings |
| Data Rate | Low (0.3 kbps to 50 kbps), for small data packets |
| Power | Very low, allowing long battery life |
| Key Benefit | Long-range communication with minimal power |
Mesh Networking: Strong and Reliable Connections #
What’s a mesh network? Imagine devices (nodes) talking directly to each other. If they’re too far apart, other nodes can pass messages along, like runners in a relay race. This is a mesh network. Data “hops” from node to node to reach its destination. This creates a strong, decentralized lora mesh esp32 system.
These networks often form by themselves. Nodes find each other and connect automatically. They are also self-healing. If one node fails, messages find a new path. This makes the network tough and reliable. Adding more nodes makes the network bigger and stronger. Different mesh systems use various routing methods to decide the best path for messages.
ESP32: The Smart Core of Your LoRa Mesh Node #
The ESP32 chip is a powerful and affordable “brain” for devices in a lora mesh esp32 network. It has plenty of processing power to handle LoRa signals and mesh network tasks. It also has enough memory for software and data. Many boards, like those from LILYGO or Heltec, combine an ESP32 and a LoRa chip, making it easy to start esp32 lora projects.
The ESP32 has built-in Wi-Fi and Bluetooth. While LoRa handles long-distance communication, Wi-Fi or Bluetooth can be used for setup or connecting the mesh to the internet. For battery-powered nodes, the ESP32 has deep sleep modes to save power. This, plus its low cost and strong community support, makes the ESP32 ideal for smart mesh nodes.
Powerful Together: LoRa, Mesh, and ESP32 #
LoRa, mesh networking, and the ESP32 work together powerfully. They help build strong, independent communication systems. LoRa provides the long-range, low-power link. Mesh networking extends this range and makes the network reliable. The ESP32 intelligently manages everything. Together, they let us build amazing communication solutions for many needs, from remote monitoring to emergency networks. The next breakthrough is just a line of code away.
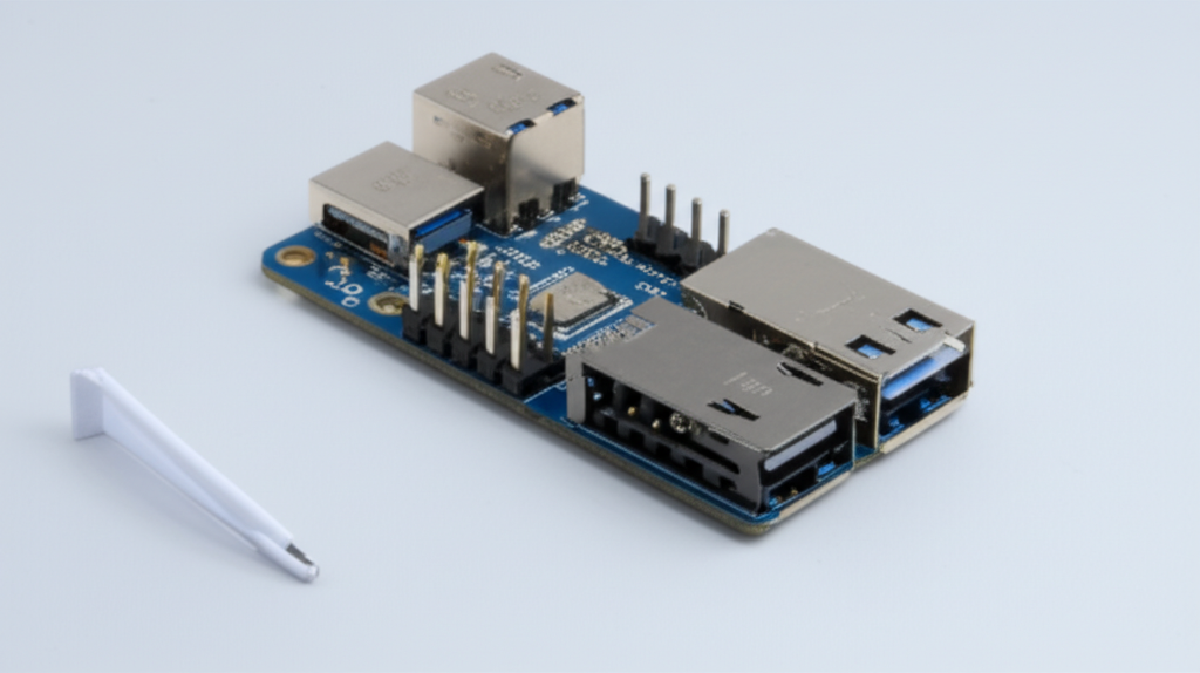
Essential Hardware for Your ESP32 LoRa Mesh Node #
Building a solid LoRa mesh ESP32 node starts with the right parts. Your choices affect performance, power use, and range. Let’s look at the key hardware: the ESP32 board, the LoRa module, the vital lora antenna, and power options.
Choosing Your ESP32 Development Board #
The ESP32 is the heart of our node. Not all ESP32 boards are ideal for a low power lora mesh. Standard boards are fine for testing. But for long battery life, they might use too much power in sleep mode. This is often due to extra parts on the board like LEDs or USB chips.
Boards with built-in LoRa chips (an esp32 lora board) like Heltec WiFi LoRa 32 or TTGO LoRa32 models are handy. However, to get very low power use, you might need to modify them, like removing LEDs. For best power saving, look for boards designed for low power, or use an external timer to fully turn off the ESP32 system when it’s not active. The goal for your lora mesh module is to sip power.
Selecting the Right LoRa Module: RFM95 vs SX1262 #
Next is the LoRa module, which sends and receives signals. Common choices are modules with Semtech’s SX127x chips (like the rfm95) or the newer SX126x series (like the sx1262).
The sx1262 chips offer benefits over the older rfm95:
- Lower Power Use: The sx1262 uses less power, especially when receiving, meaning longer battery life for your lora mesh module.
- Higher Transmit Power: sx1262 modules can often send signals with more power (up to +22 dBm vs +20 dBm for rfm95), which can mean longer range.
- Better Receiver Sensitivity: They can pick up weaker signals, also helping with range.
RFM95 modules are usually cheaper and widely available. SX1262 modules are becoming more common and their prices are dropping. For battery-critical ESP32 LoRa projects, the sx1262’s benefits often justify its slightly higher cost. Both are well-supported by software libraries.
Here’s a quick comparison:
| Feature | RFM95 (SX1276) | SX1262 | Notes |
|---|---|---|---|
| Sensitivity | up to -148 dBm (typ. -136dBm) | up to -148 dBm (typ. -137dBm) | sx1262 often better in real-world tests. |
| Max Tx Power | +20 dBm | +22 dBm | sx1262 offers higher output. |
| Rx Current | ~10.8 mA | ~4.6 mA | Big saving for sx1262. |
| Tx Current @+14dBm | ~45 mA | ~22 mA | sx1262 is much more efficient. |
| Cost Indicator | Lower | Moderate | sx1262 prices are decreasing. |
Antenna Matters: Maximizing Your LoRa Mesh ESP32 Range #
A good lora antenna is critical for long range. A bad antenna will cripple even the best esp32 lora board and module. Avoid these common mistakes:
- Wrong Frequency: Using a Wi-Fi antenna for an 868MHz LoRa module won’t work well. Match antenna to frequency.
- No Ground Plane: Simple antennas need a ground plane (like the PCB ground) to work right.
- Impedance Mismatch: Use 50 Ohm antennas and cables for LoRa systems.
- Placement: Keep the lora antenna away from metal, batteries, or the ESP32 itself.
- Enclosure Effects: Your project box can affect the antenna. Test with the case on.
Good DIY lora antenna options for ESP32 LoRa projects include a quarter-wave wire antenna. For 868 MHz, this is about 8.2 cm long; for 915 MHz, about 7.8 cm. It needs a ground plane. Paying attention to your lora antenna will greatly boost performance.
Wiring Your LoRa Module to the ESP32 #
Connecting the LoRa module to your esp32 lora board uses the SPI interface. Key pins are MOSI, MISO, SCK for data, and CS (Chip Select) to choose the device. You’ll also connect Reset and interrupt pins (like DIO0). For an rfm95, DIO0 signals events like message sent or received. For an sx1262, there’s also a BUSY pin to show if the module is active, and DIO1 is often the main interrupt.
Always check datasheets for your specific esp32 lora board and lora mesh module. Pin names can vary. Libraries like RadioLib often provide default pin setups. For example, you might connect ESP32 GPIO23 to MOSI, GPIO19 to MISO, GPIO18 to SCK, GPIO5 to CS, GPIO17 to RST, and GPIO2 to DIO0 for an rfm95.
Powering Your Nodes: Battery and Solar for Longevity #
For a low power lora mesh node, smart power use is key. The ESP32 should be in deep sleep most of the time. It should wake up, do its job (like send a LoRa packet), and go back to sleep quickly. Ensure all other parts, like the LoRa module (rfm95 or sx1262) and sensors, also sleep.
Battery choices for your lora mesh module:
- LiPo or 18650 Li-Ion: Good energy, need a Battery Management System (BMS) for safety.
- LiFePO4: Longer life, safer, good for outdoors.
- Primary Lithium: For nodes where you can’t recharge; very long life.
Solar charging is great for long-term ESP32 LoRa projects. Size your panel based on your node’s energy use and local sunlight. Use an MPPT solar charger for better efficiency. Careful power management helps your lora mesh esp32 nodes last a long time.
Software and Libraries: Bringing Your LoRa Mesh ESP32 to Life #
With hardware ready, let’s look at software for your LoRa mesh ESP32 network. Choosing the right tools and understanding core concepts are key to making your ESP32 LoRa projects successful.
Development Tools: Arduino IDE vs. PlatformIO #
For coding your ESP32 LoRa projects, you have choices. The Arduino IDE is simple and great for beginners or small projects. PlatformIO, used with VS Code, is better for complex lora mesh ESP32 systems. PlatformIO handles project libraries well, avoiding conflicts. It organizes files clearly and offers advanced features like code completion, debugging, and easy version control with Git. Many advanced ESP32 LoRa projects prefer PlatformIO for these reasons.
Key Libraries for ESP32 LoRa Mesh Networks #
Special libraries help your LoRa mesh ESP32 network function. They handle radio communication, sending packets, and managing the mesh. Two popular ones are RadioHead (its RHMesh part) and LoRaMesher.
- RadioHead (RHMesh): Used in projects like
royyandzakiy/LoRa-RHMesh. It handles routing and reliable message delivery between nodes. Nodes learn routes by sending messages and discovering neighbors. It uses acknowledgments (ACKs) at each hop to confirm delivery. - LoRaMesher: This library uses RadioLib for radio control. It uses a routing method where nodes send out “HELLO” packets to find each other. It confirms message delivery from the final destination back to the sender.
Here’s how they differ:
| Feature | RadioHead RHMesh | LoRaMesher |
|---|---|---|
| Reliability | ACK per hop | ACK from final destination |
| Routing | Custom via RHRouter |
Uses a Distance-Vector type protocol |
| Route Discovery | Through active management calls | Periodic HELLO packets |
Other useful libraries include SX126x-Arduino for controlling sx1262 chips. Some ESP32 LoRa projects, like WARS-Birdhouse, create their own custom mesh logic for specific needs.
Core Software Ideas for Mesh Networking #
Understanding these ideas helps build a good lora mesh network arduino setup:
- Route Discovery: How nodes find paths to each other. RadioHead RHMesh learns routes as nodes communicate. LoRaMesher uses HELLO packets.
- Node Addressing: Each node needs a unique ID. This can be set manually or derived from the ESP32’s unique MAC address.
- Packet Formatting: Data is sent in packets. Packets have a header (with addresses, type, etc.) and the payload (your data). A checksum ensures data isn’t corrupted.
- Mesh Initialization: When nodes start, they set up their LoRa radio and start looking for other nodes to build their routing tables (their “map” of the network).
- Routing Algorithms: These are the rules for choosing paths. Simple ones include flooding (sending to everyone). Dynamic ones adapt to changes, like Distance-Vector (used by LoRaMesher) where nodes share hop counts.
- Sending/Receiving Data: Libraries often use callbacks (functions triggered on events) or message queues to handle incoming and outgoing data smoothly.
Step-by-Step: Building Your First ESP32 LoRa Mesh Network #
Let’s learn how to build a lora mesh network with ESP32 and LoRa. This guide helps you set up a basic 2-3 node network using the LoRaMesher library. LoRaMesher is great for beginners, simplifying mesh operations on ESP32 hardware.
1. Setting Up Your Development Environment #
For this esp32 lora mesh tutorial, we recommend PlatformIO with Visual Studio Code (VSCode).
- Install VSCode, then the PlatformIO IDE extension.
- In PlatformIO, create a new project. Name it, pick your ESP32 board (e.g., “TTGO LoRa32-OLED V1”), and choose “Arduino” framework.
Add LoRaMesher to your platformio.ini file under lib_deps:
[env:your_esp32_board]
platform = espressif32
board = your_board_id_here
framework = arduino
monitor_speed = 115200
lib_deps =
    LoRaMesher/LoRaMesher
    jgromes/RadioLib
PlatformIO will download LoRaMesher and its helper